Add 200.00 د.إ more to qualify for free delivery!
How To Charge IQOS 3 Multi

Table of contents
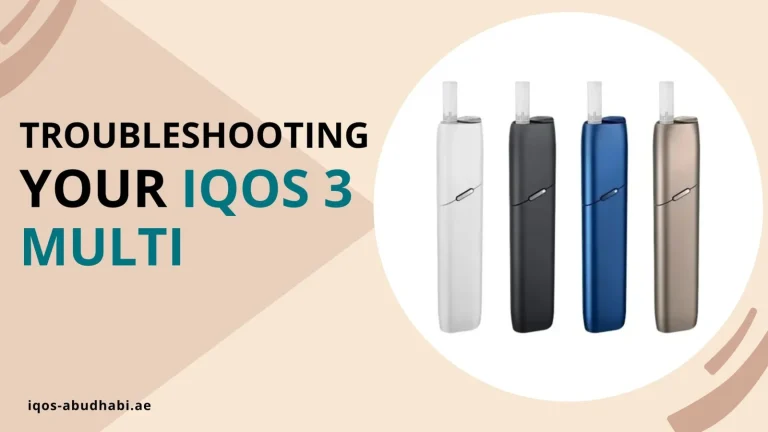
To charge the IQOS 3 Multi, connect it to the IQOS power adapter with the USB-C cable, plug the adapter into a wall socket, and wait until the light stops pulsing. A full charge takes about 75 minutes and gives up to 10 uses.
How to Charge IQOS 3 Multi Step by Step
- Press the button to check the battery level.
- Connect the USB-C cable to the device and to the IQOS power adapter.
- Plug the adapter into a wall socket indoors.
- The light pulses while charging.
- When the light stays solid and full, the device is charged. Unplug it.
Reading the Battery Light
- Pulsing light while plugged in: charging.
- Solid full light: fully charged.
- Press the button when unplugged: shows how much charge is left.
Safe Charging Tips
- Use the IQOS power adapter and cable. Other chargers may not give the right power.
- Charge indoors, away from heat, sun and water.
- Check the cable and port for damage from time to time.
- If the device stops charging or shows an error, stop using it and contact the seller or IQOS support.
Frequently Asked Questions
How long does the IQOS 3 Multi take to charge?
About 75 minutes for a full charge.
Can I use a phone charger?
It is best not to. Use the original IQOS power adapter and cable so the device gets the right power.
Why is my IQOS blinking?
Blinking often means the device is too hot or too cold, or the stick is not inserted correctly. Let it reach room temperature, reinsert the stick and try again. If it keeps blinking, try a reset or contact support.
Which sticks does the IQOS 3 Multi use?
It is a blade device, so it uses HEETS, not TEREA.